Google Pay
note
This page describes how Google Pay can be enabled in OrchestratorX via CyberSource.
This guide assumes that you have already configured CyberSource as a connector in your OrchestratorX Control Center. If not, follow the steps mentioned here.
Steps to Configure Google Pay
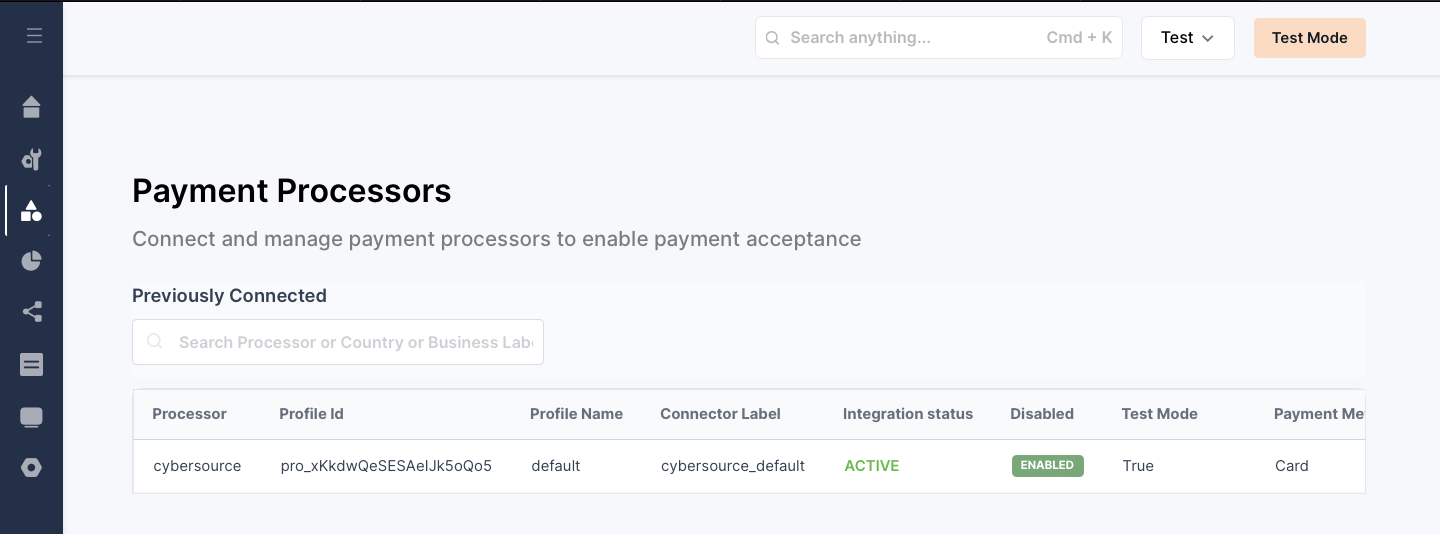
- On your OrchestratorX Control Center, click on
Connectors > Payment Processors. - If you have already configured CyberSource successfully, you will land on the page shown in the image below.
- Click on CyberSource and then click the
Editicon to update the configuration of the CyberSource connector.
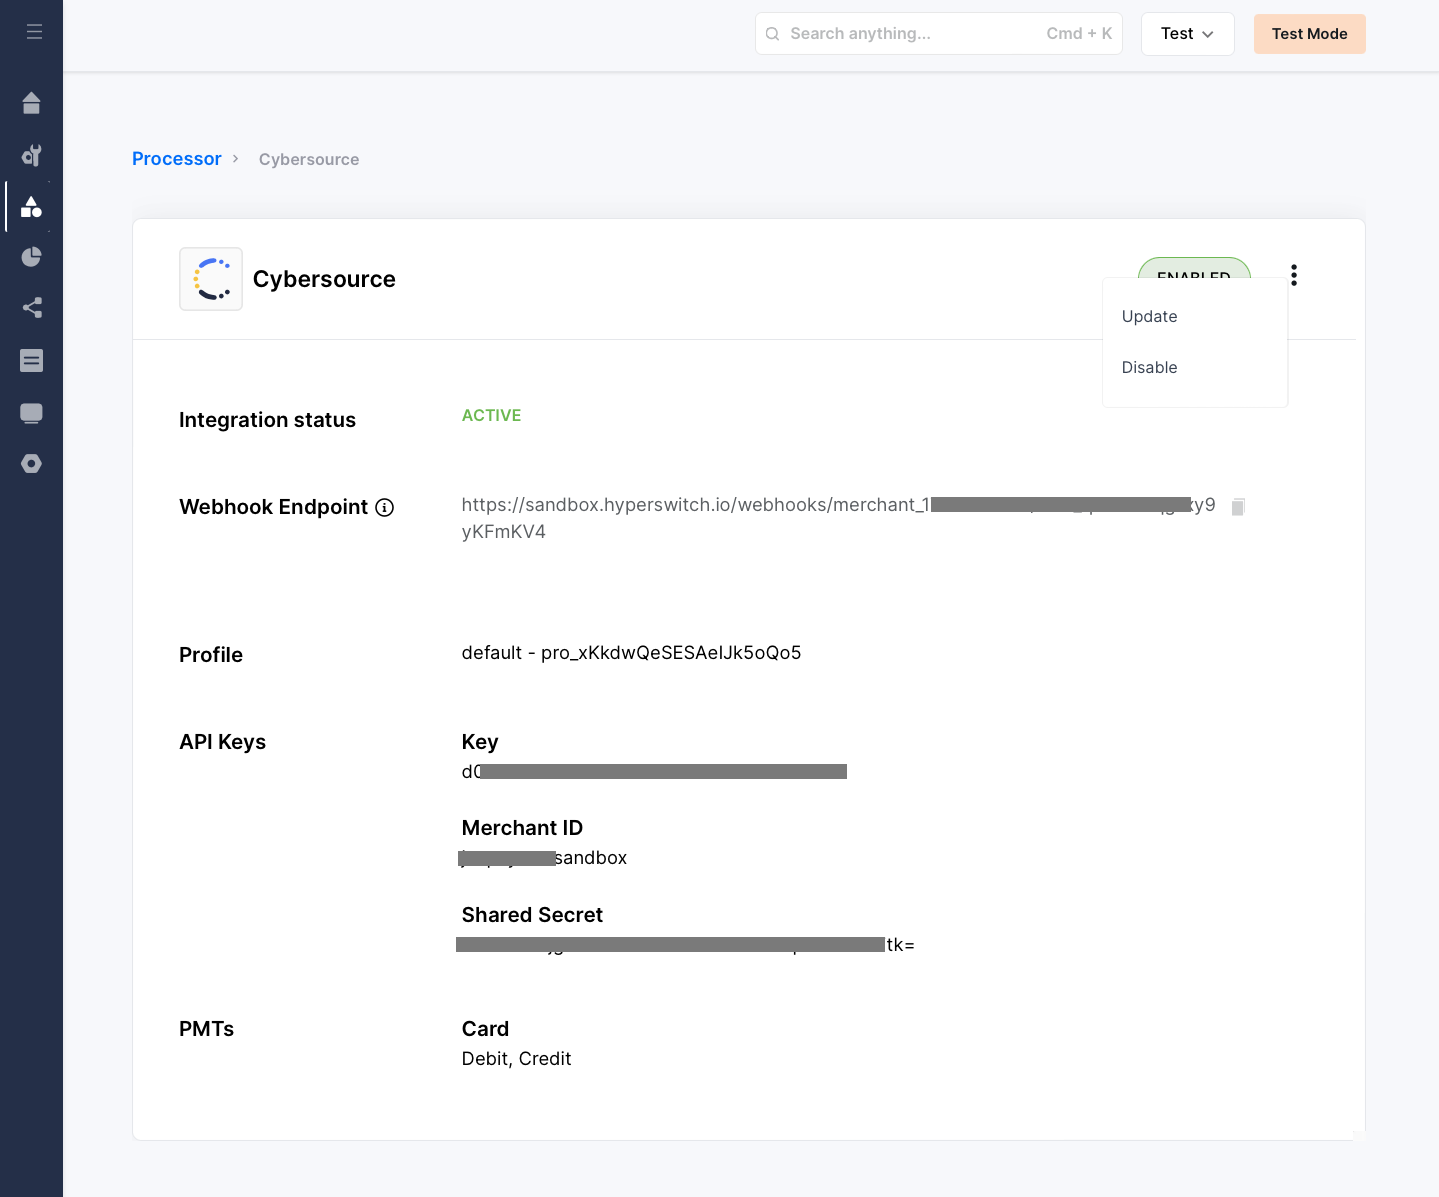
- Click Proceed after making any necessary changes to your API keys.
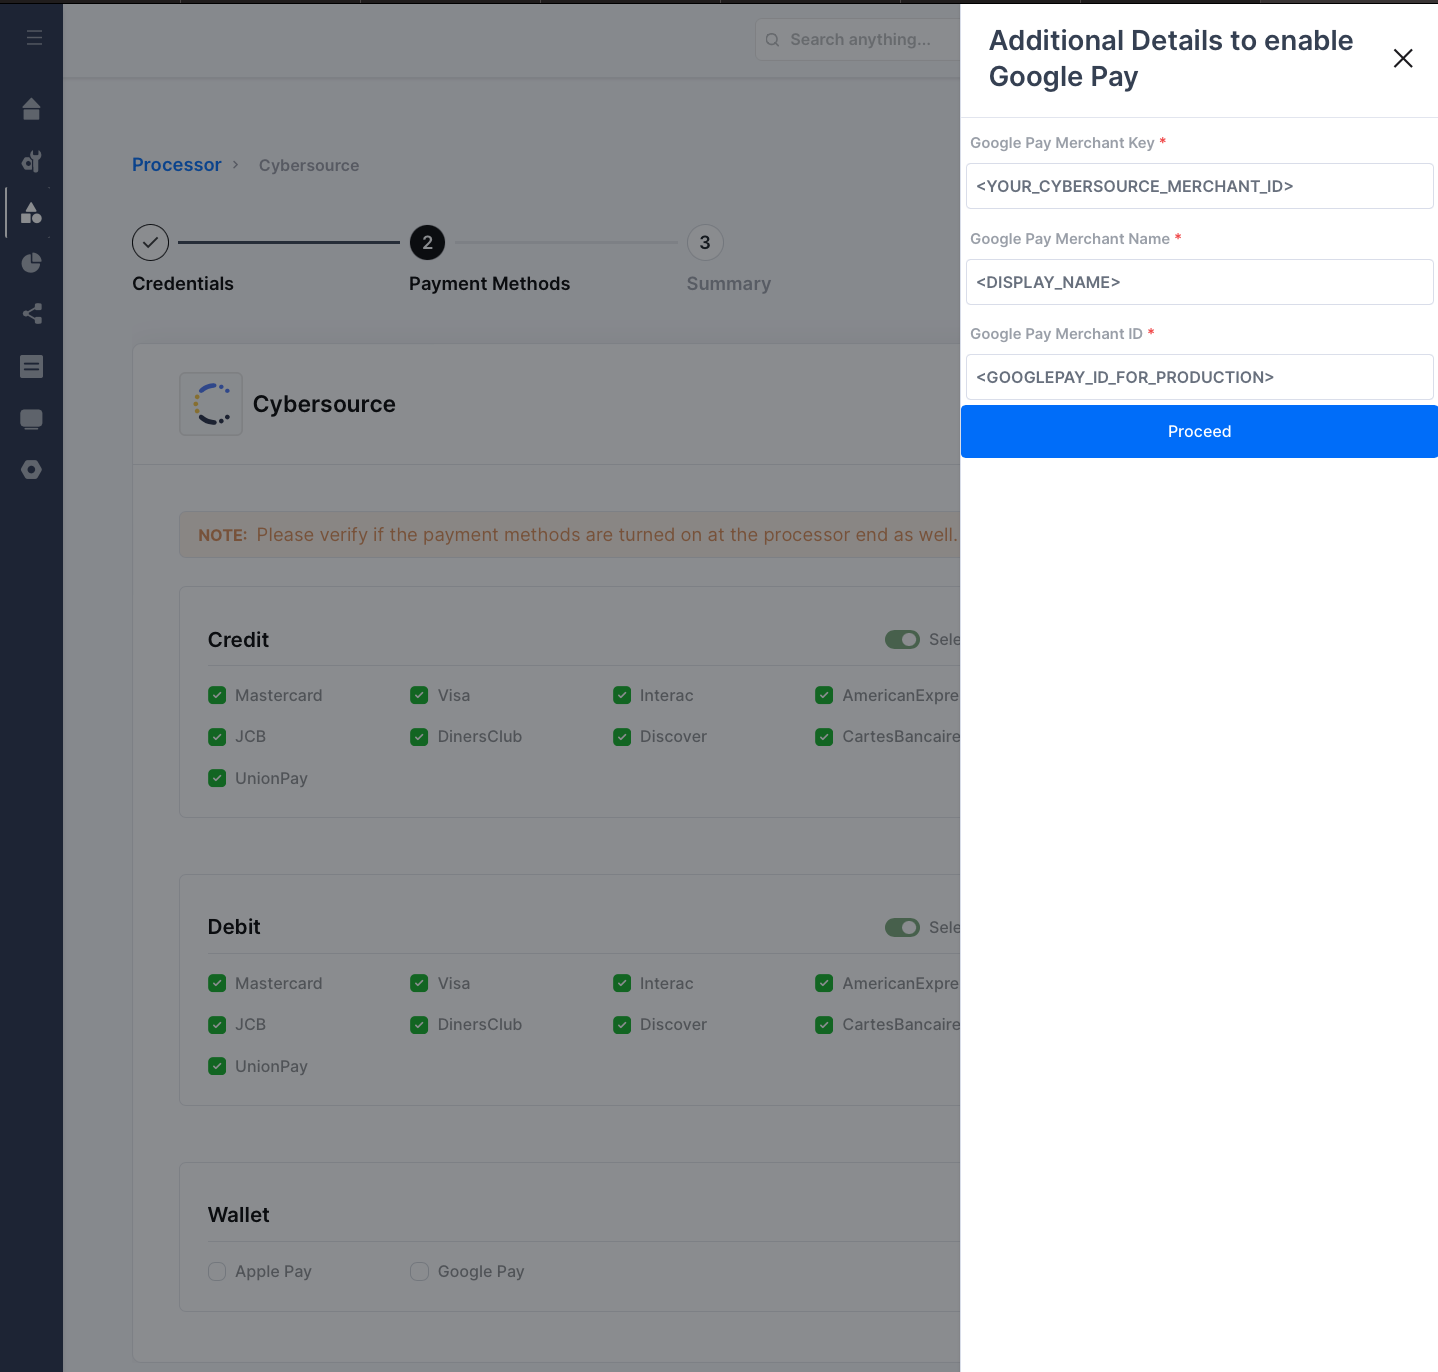
- Select Google Pay under the Wallet section to enable it.
- Enter the Google Pay details in the overlay form and click Proceed:
- Google Pay Merchant Key: Your CyberSource Merchant ID.
- Google Pay Merchant Name: The display name that customers will see in their Google Pay app when making a payment.
- Google Pay Merchant ID: [For Production Only] Your Google Pay Merchant ID provided by Google after you sign up and receive approval to use Google Pay in production.
tip
[SANDBOX ENV]: For the sandbox test environment, you can enter any dummy value for Google Pay Merchant ID — it will not affect the payment experience.
- Click Proceed, review your changes, and click Done.
Points to Remember for Google Pay Payments via CyberSource
- Required fields for a Google Pay payment request via CyberSource:
- Billing address details:
- First Name
- Last Name
- Address Line 1
- Zip/Postal Code
- City
- State
- Country
warning
We recommend passing these fields when creating the Payment Intent with OrchestratorX. Otherwise, the OrchestratorX SDK will collect this information from the customer at checkout, which may not provide the best payment experience.