Apple Pay
note
This page consists of steps for how Apple Pay can be enabled in OrchestratorX via CyberSource.
This guide assumes that you have already configured CyberSource as a connector in your OrchestratorX Control Center. If not, please follow the steps mentioned here.
Steps to Configure Apple Pay
- On your OrchestratorX Control Center, click on
Connectors > Payment Processors. - If you have already configured CyberSource successfully, you will land on the page as shown in the image below.
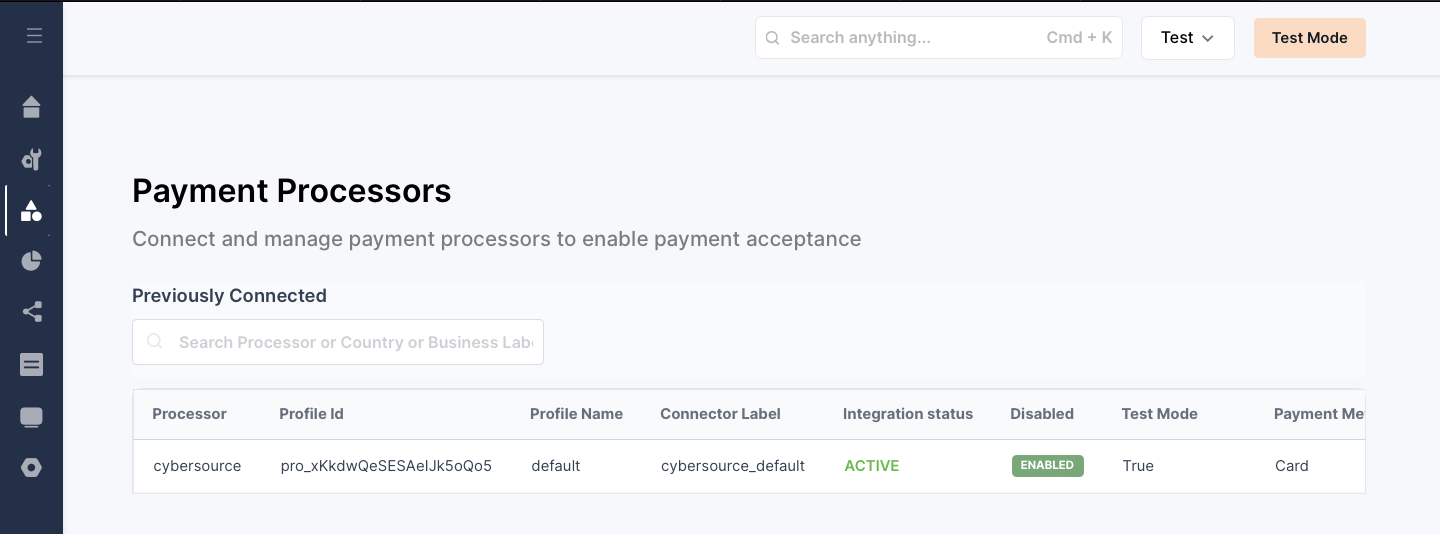
- Click on CyberSource and then click on
Edit Iconto Update the configuration of the CyberSource connector.
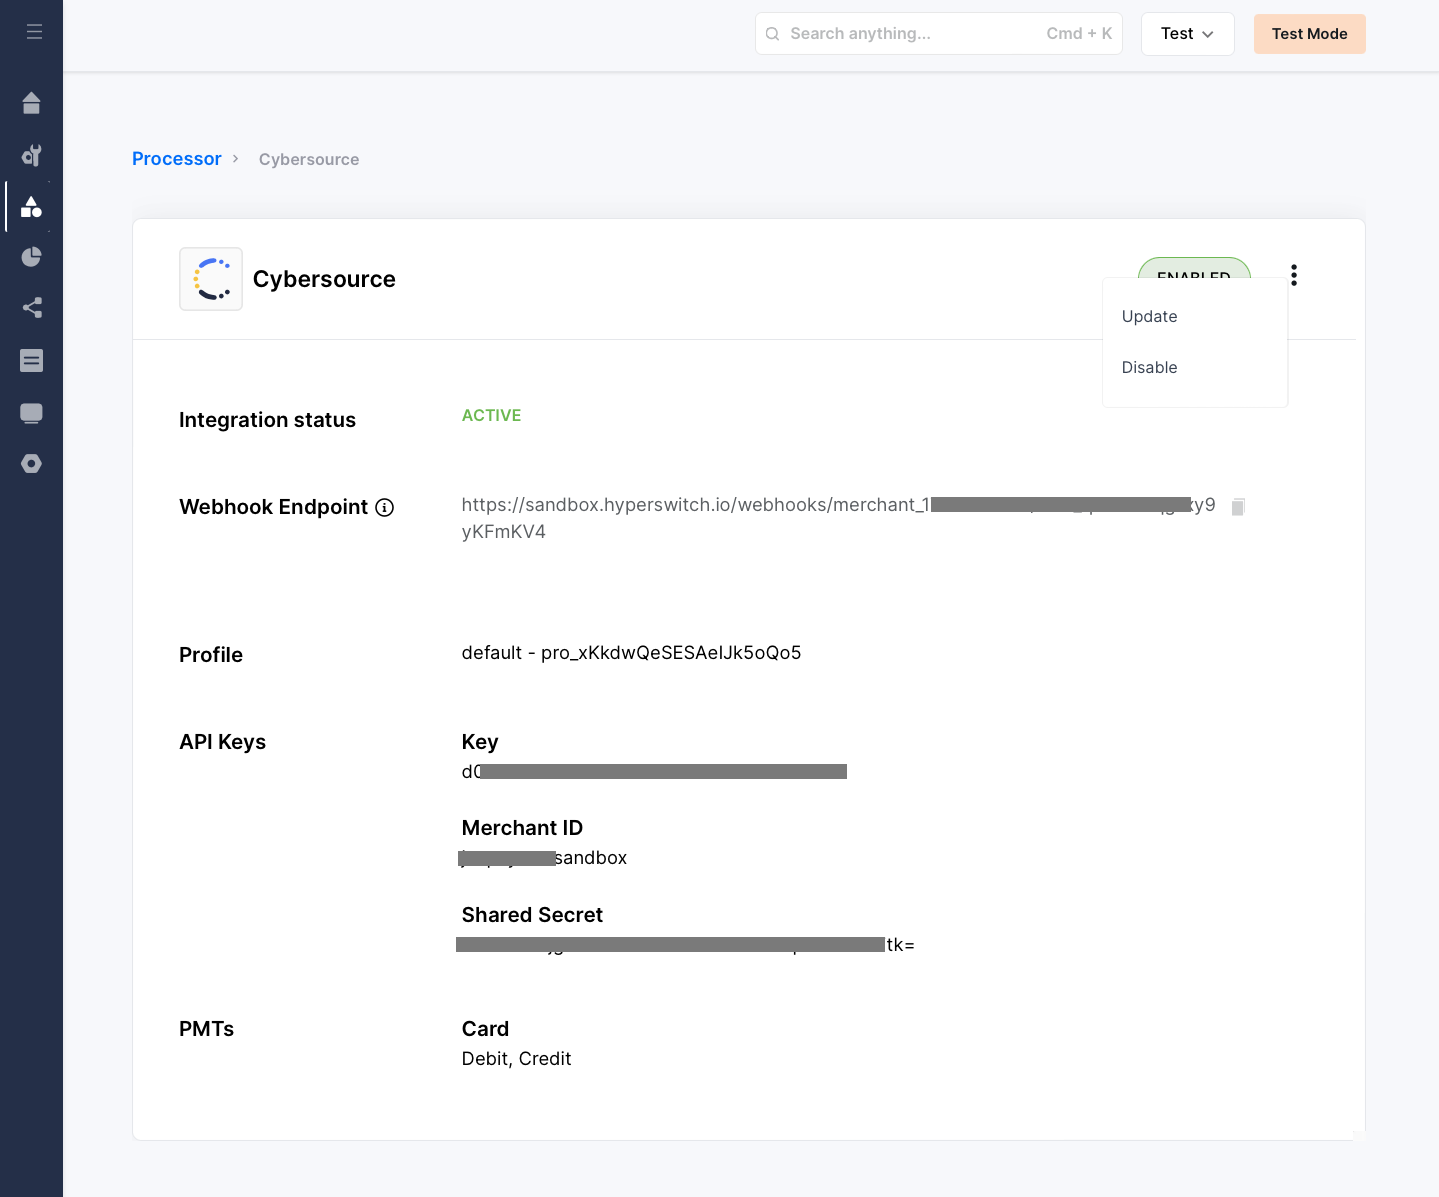
- Click on Proceed after making the necessary changes to your API Keys (if required).
- Select Apple Pay under the Wallet section to enable it.
- Prepare Apple Pay certificates for CyberSource by following the steps mentioned here.
- To configure these steps in the OrchestratorX dashboard, please follow the steps mentioned here.
- Click on Enable and then Proceed, review your configuration and changes, and click Done.
Points to Remember for Apple Pay Payments via CyberSource
- Required fields for Apple Pay payment requests via CyberSource:
- Billing Address Details
- First Name
- Last Name
- Address Line 1
- Zip/Postal Code
- City
- State
- Country
warning
We recommend passing these fields when creating the Payment Intent with OrchestratorX. Otherwise, the OrchestratorX SDK will collect this information from the customer during payment, which may not provide the best experience.
Steps to Prepare Apple Pay Certificates for CyberSource Integration
- Create an Apple Merchant ID by following the steps mentioned here.
- Validate your merchant domain by following the steps mentioned here.
- Create Apple Merchant ID certificates by following the steps mentioned here.
- Log into your CyberSource Console and navigate to
Payment Configuration > Digital Payment Solutions.
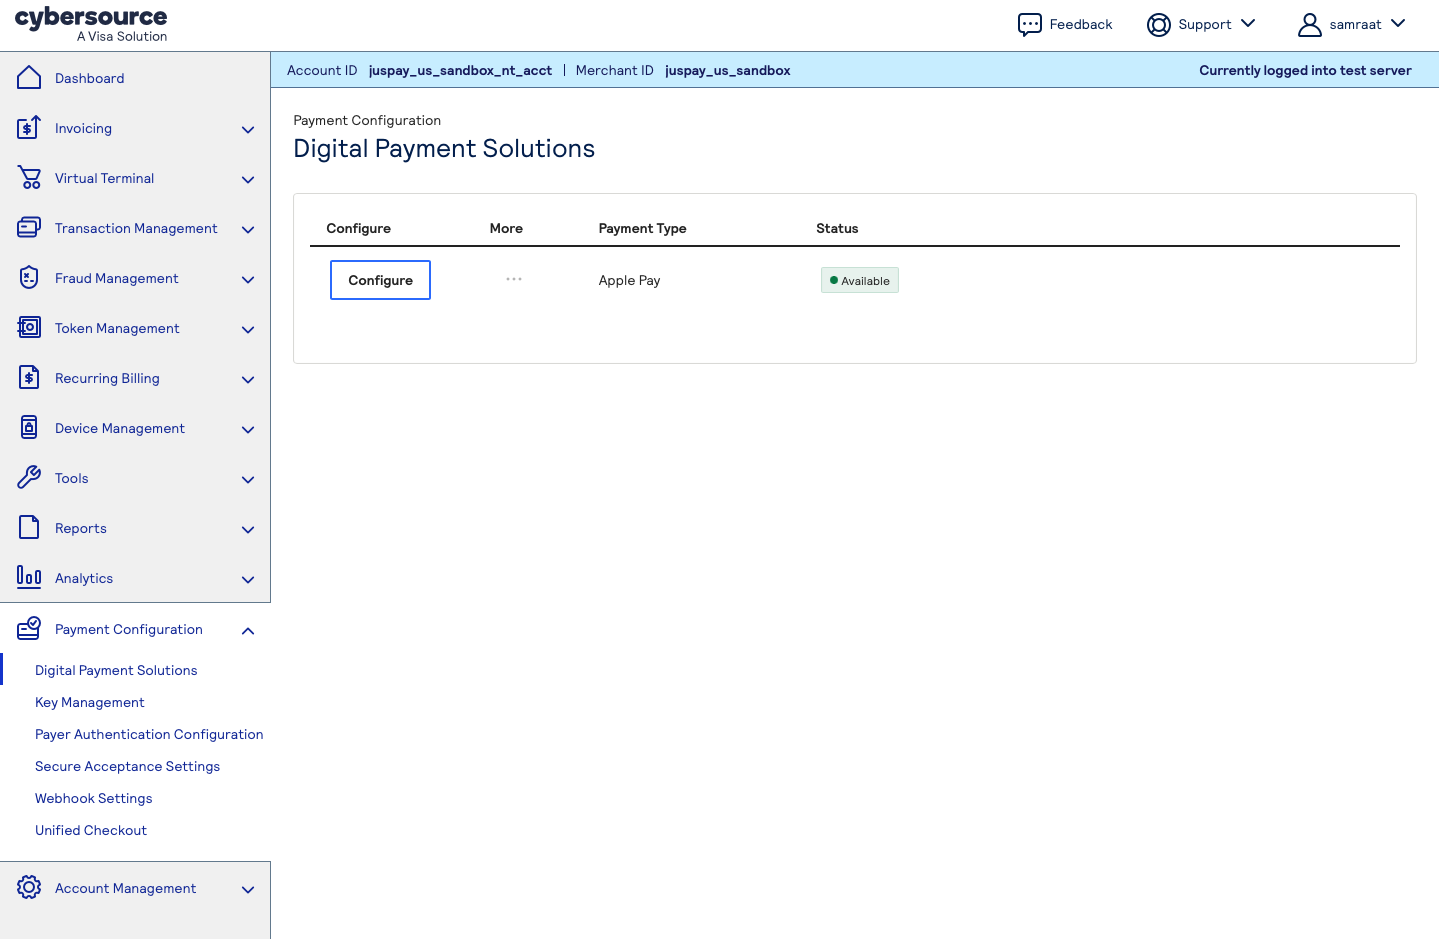
- Click on Configure and add your Apple Merchant ID that you created in the steps above.
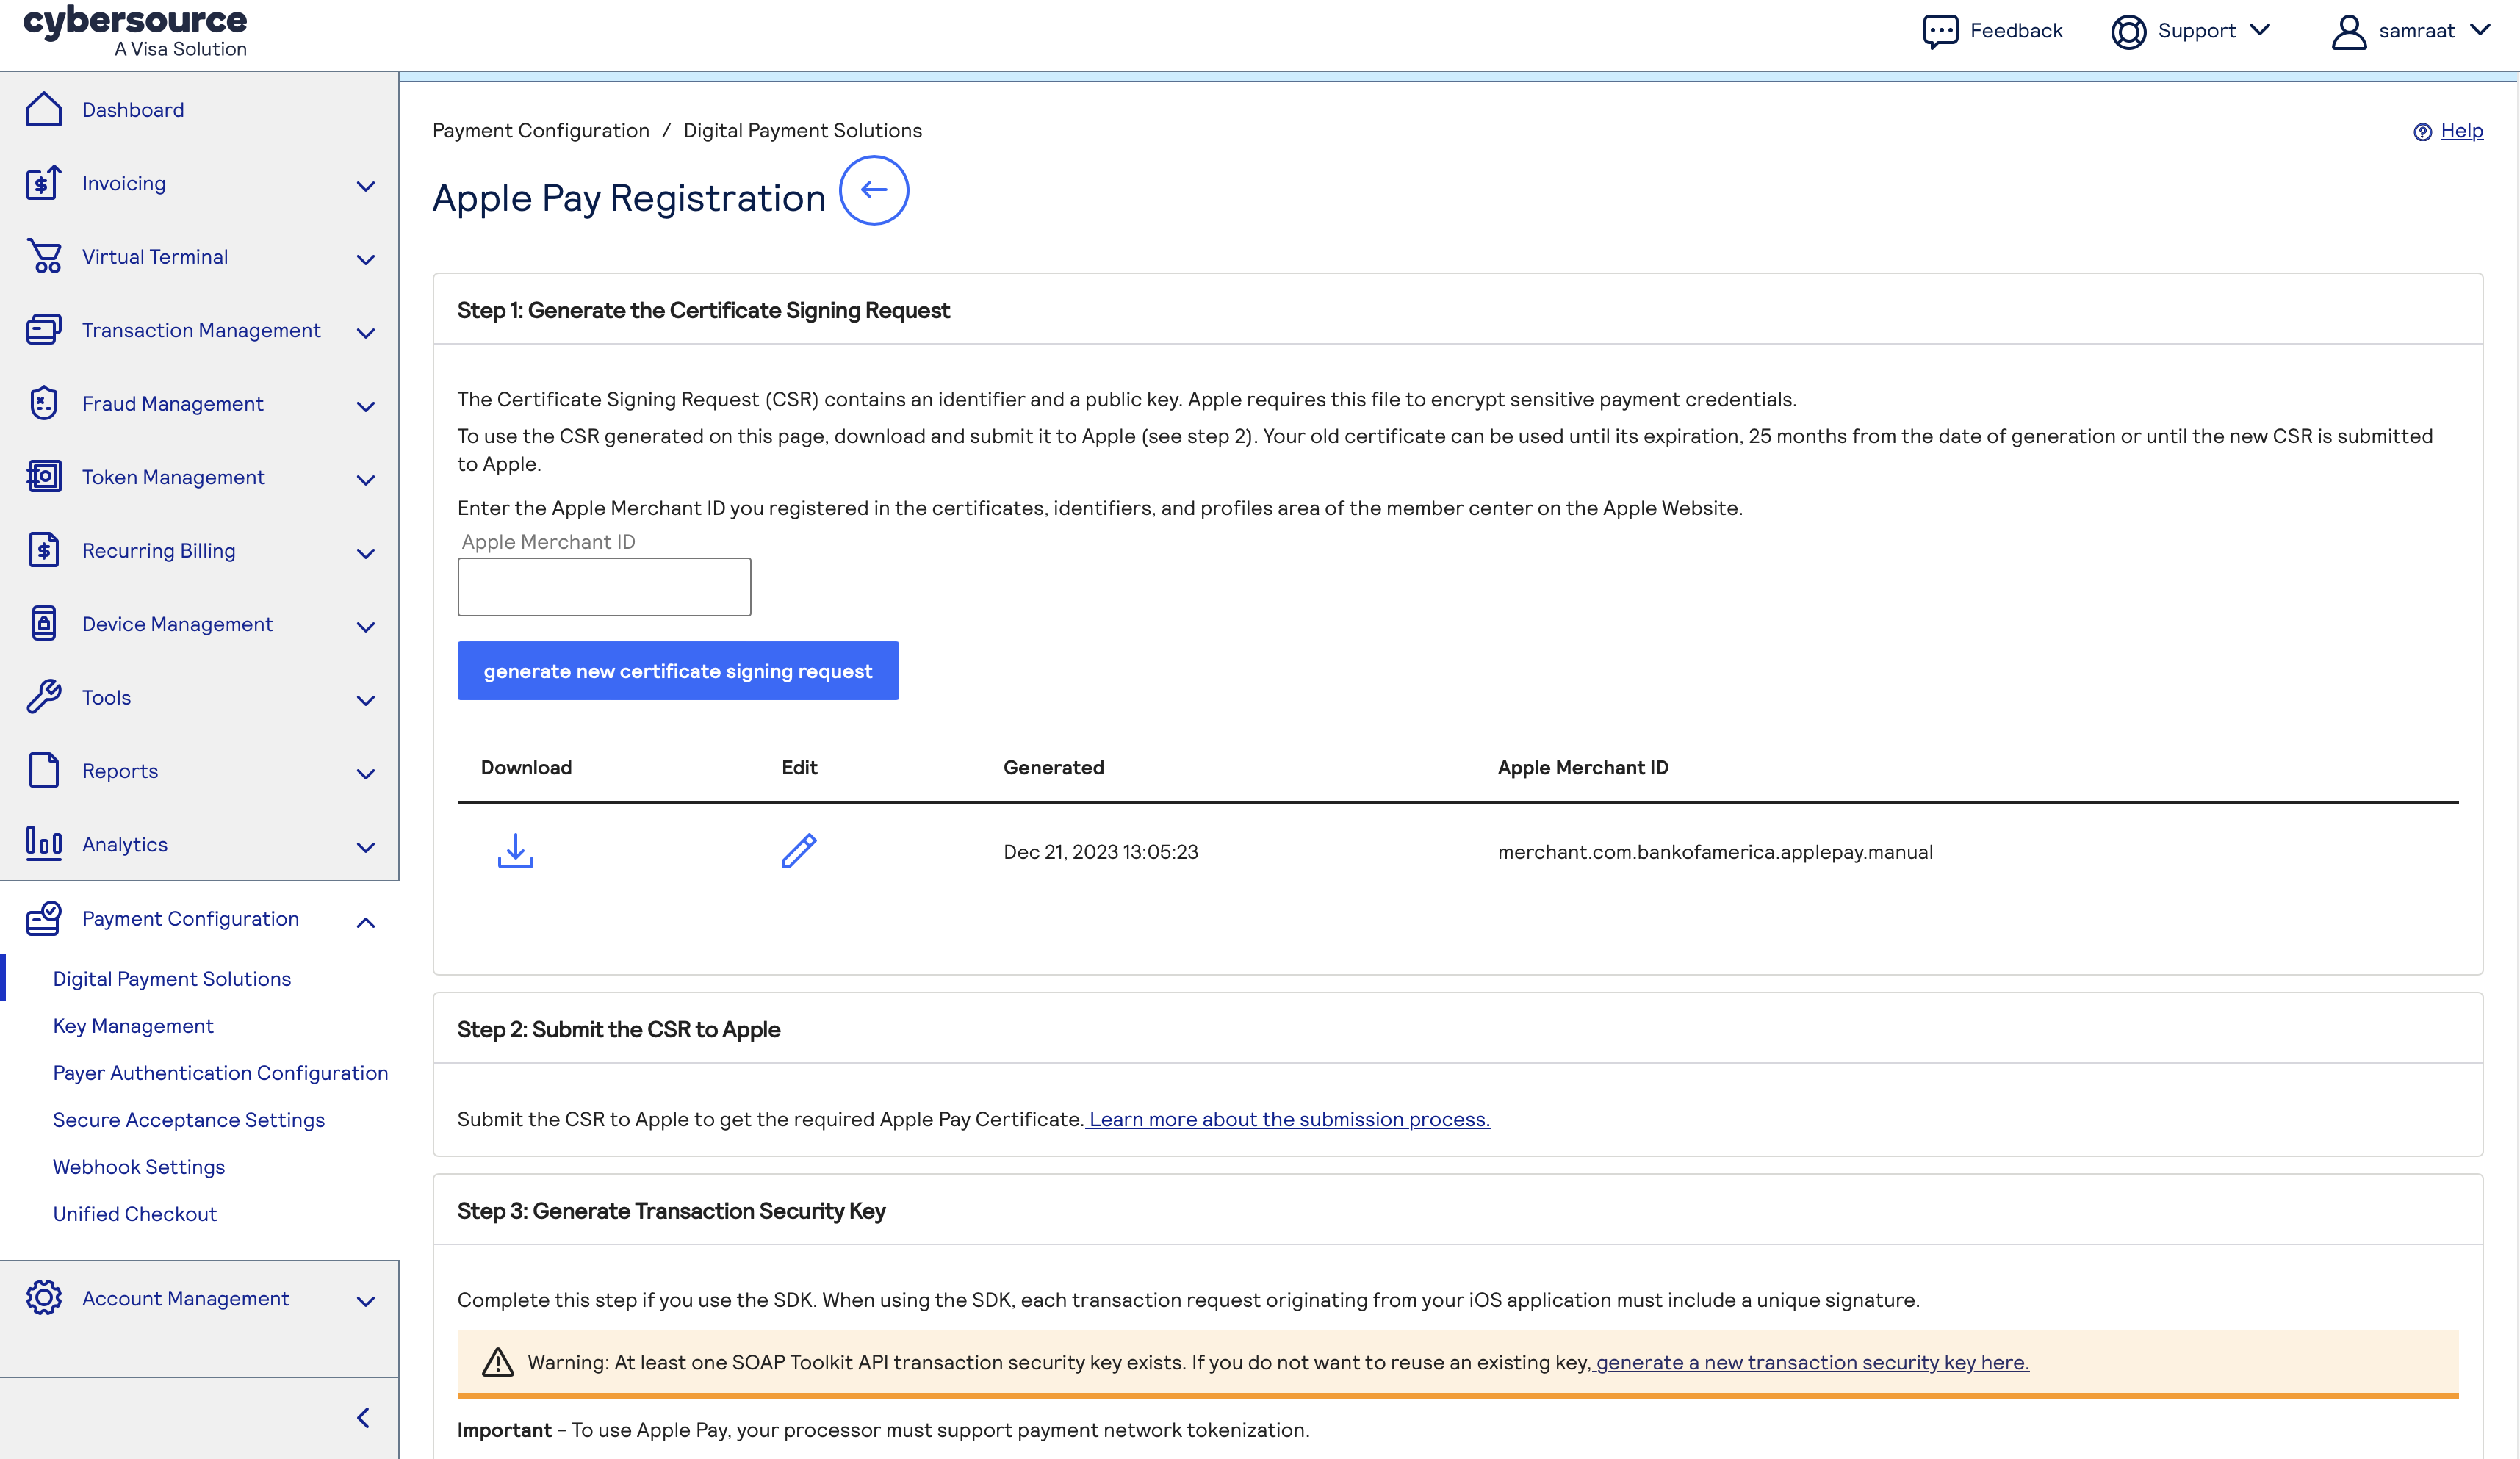
- Click on
Generate New Certificate Signing Requestand download the provided .csr file. - Log in to your Apple Developer account, go to Identifiers, and select the Merchant ID you created previously.
- Under the Apple Pay Payment Processing Certificate section, click on Create Certificate.
- After answering whether the Merchant ID will be processed exclusively in China mainland, click on Continue.
- Upload the .csr file you received from your processor and click Continue.
- Click on Download — you will receive a .cer file.
- On the CyberSource Console, if prompted, upload the same .cer file (
apple_pay.cer). - Now configure the generated certificates into the OrchestratorX Control Center for CyberSource by following these steps.
note
To enable Apple Pay in your iOS application, please refer to the steps mentioned here.